-40%
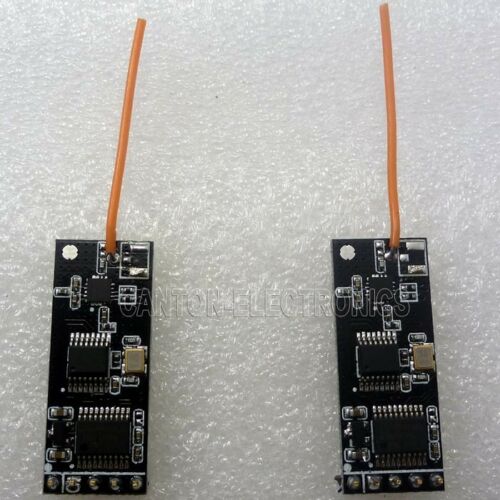
2x 100MW RS232 TTL RS232 RF Wireless Transceiver Module for Arduino UNO MEGA2560
$ 6.55
- Description
- Size Guide
Description
Product Name: 2x 100MW RS232 TTL RS232 RF Wireless Transceiver Module for Arduino UNO MEGA2560Packing list:
2 pcs 2.4G RS232(TTL Lever) Wireless Transceiver Module;
Overview:
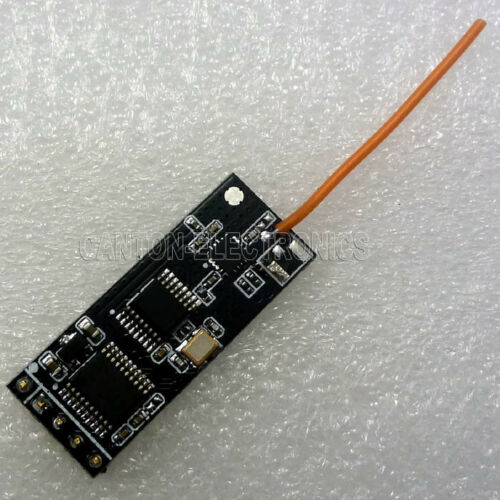
TB387 is based on 2.4GHz frequency band wireless transparent data-transmission module.
Module supports most basic AT commands: baud rate, ID number, frequency settings and inquiries; factory settings; version information.
When the module is in AT module, users can use serial-port to issue AT commands to set the module's parameters.
When the module is in transparent data transfer mode, the user transmit data, frame number data module, add packaged rowcount, and then automatically transmit , at reliable range, the module will automatically re-transmit data to ensure successful transmission.
Performance Parameter:
Working voltage: 3.3V-5.5V;
RS232 Interface ( 3.3V/5V TTL level)
Frequency range: 2402~2482MHz
Transmit power: 20dBm(100mw);
Receiver sensitivity: -87dBm;
Operating temperature: -40~+85 ° c;
Transparent transmission mode baud rate:
2400,4800,
9600(Default)
,14400,19200,38400,57600,115200,12800,25600
AT mode configured baud rate fix is: 9600;
Open ground Transmission distance : 400M
Pinout :
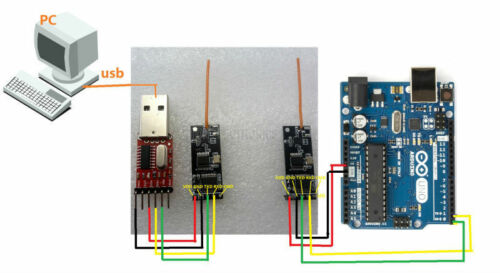
1, VDD:3.3V or 5V power supply ;
2, GND: Power Ground;
3, TXD: serial port output, Arduino or USB to serial port RXD;
4, RXD: serial port input, Arduino or USB to serial port TXD;
5, CMD: Enter PIN AT mode, active low level;
AT Commands Data Sheet : Please contact seller on ebay message ;
Typical applications:
2402-2482MHz ISM/SRD band systems
Consumer electronics
Access control, Attendance, Logistics
Smart Furniture
Robert
Wireless sensor
Wireless communication between Arduino and PC(Also application with other 3.3V/5V level MCU ,
for example: FPGA CPLD STM32 C8051 PIC AVR MSP430)
for this Applications you also need: 1 pcs
USB to ttl cable
; Arduino UNO/MEGA2560
ARDUINO Serial data Transceiver:
Copy the following code:
//----------------------------------------------------------------------//
// Pin 13 has an LED connected on most Arduino boards.
int led = 13;
String comdata = "";
void setup()
{
// initialize the digital pin as an output.
pinMode(led, OUTPUT);
Serial.begin(9600);
Serial.println("Hello, I am Arduino!");
}
//Serial data transceiver
void loop()
{
while (Serial.available() > 0)
{
digitalWrite(led, HIGH); // turn the LED on (HIGH is the voltage level)
comdata += char(Serial.read());
delay(2);
}
if (comdata.length() > 0)
{
Serial.println(comdata);
comdata = "";
}
digitalWrite(led, LOW); // turn the LED off by making the voltage LOW
}
//----------------------------------------------------------------------//
